In this blog post we’ll go through the steps involved in deploying the vCloud Application Director Appliance. In our previous blog post we saw the steps of creating an IP Pool for the vCloud Application Director. Prerequisites ■ Verify that the vCloud Application Director Appliance was downloaded from the VMware website. ![]() ■ Log in to the vSphere client as a user with system administrator privileges. In the vSphere client, select File > Deploy OVF Template. Browse to the vCloud Application Director Appliance file with the .ova or .ovf extension and click Open.
■ Log in to the vSphere client as a user with system administrator privileges. In the vSphere client, select File > Deploy OVF Template. Browse to the vCloud Application Director Appliance file with the .ova or .ovf extension and click Open.

Click Next. Click Next on the OVF Template Details page.

Accept the license agreement and click Next.

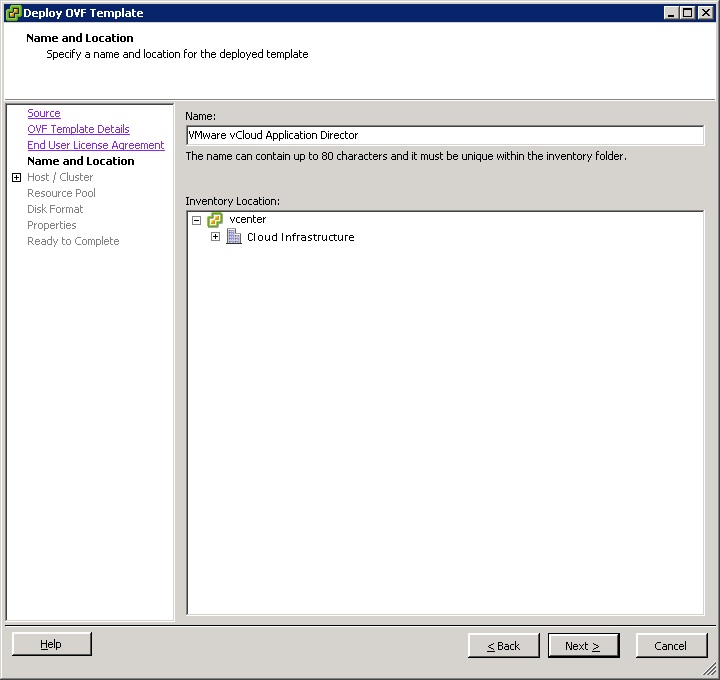
Type a unique virtual appliance name according to the naming convention of your organization in the Name text box, select the datacenter and location to which you want to deploy the virtual appliance, and click Next.
Follow the prompts until the Disk Format page appears.
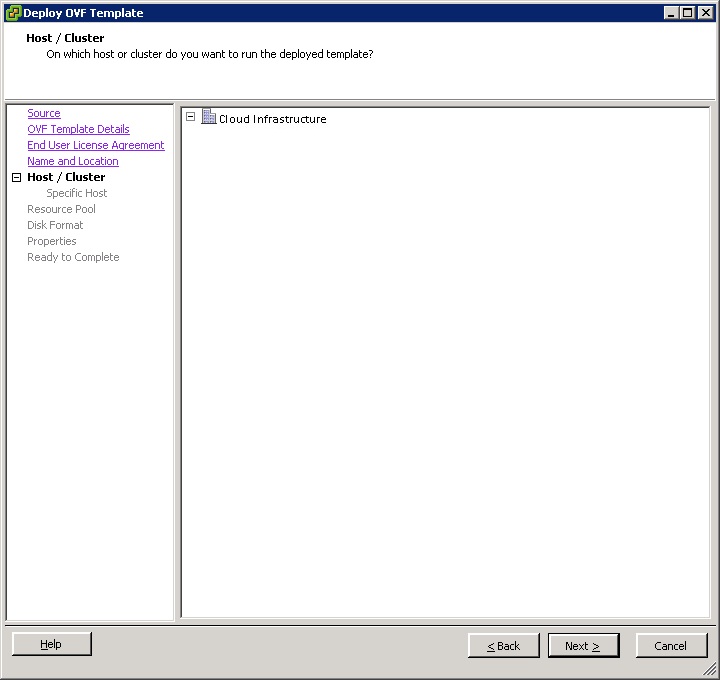

Verify that there is enough space to deploy the virtual appliance on the Disk Format page and click Next.

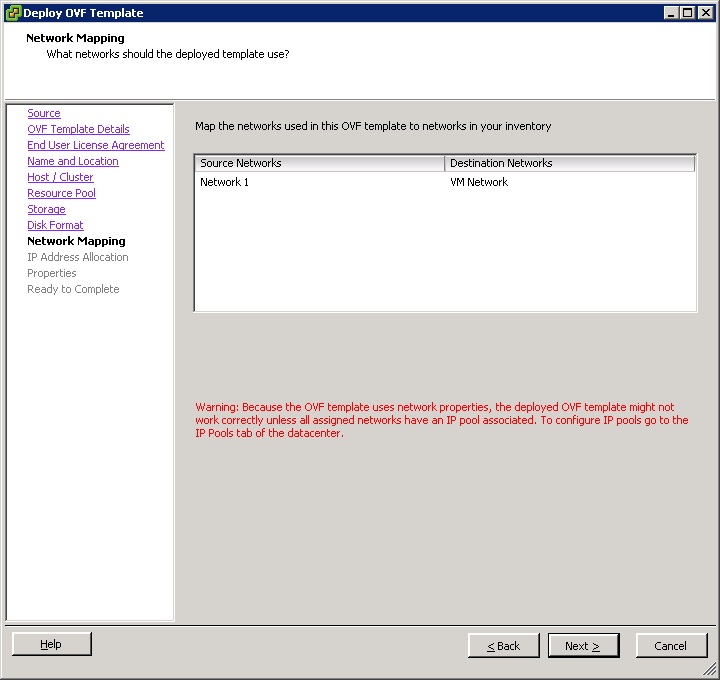
Choose the network to deploy the machine on.
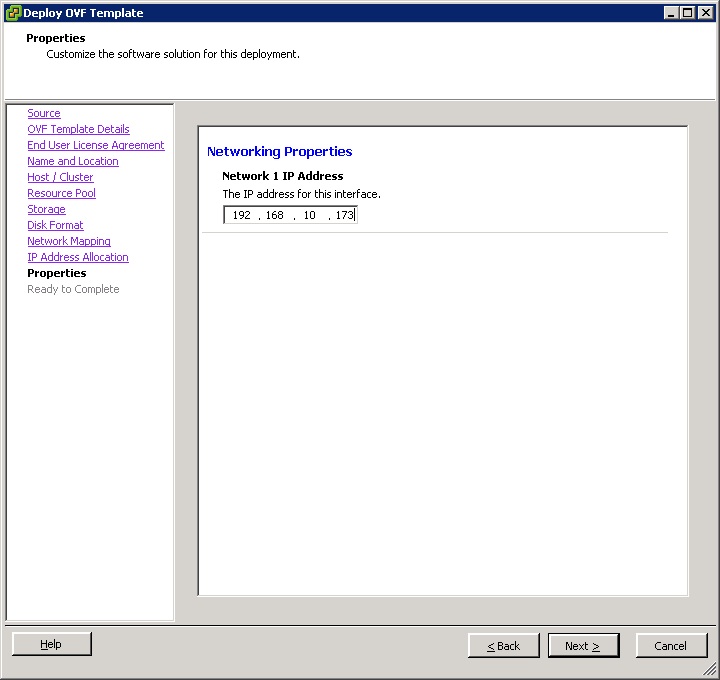
Follow the prompts to the Properties page. The options displayed depend on your vSphere configuration. Configure the values on the IP allocation policy window. We will choose “Fixed” here.

Enter the IP Address for the vCAD appliance.
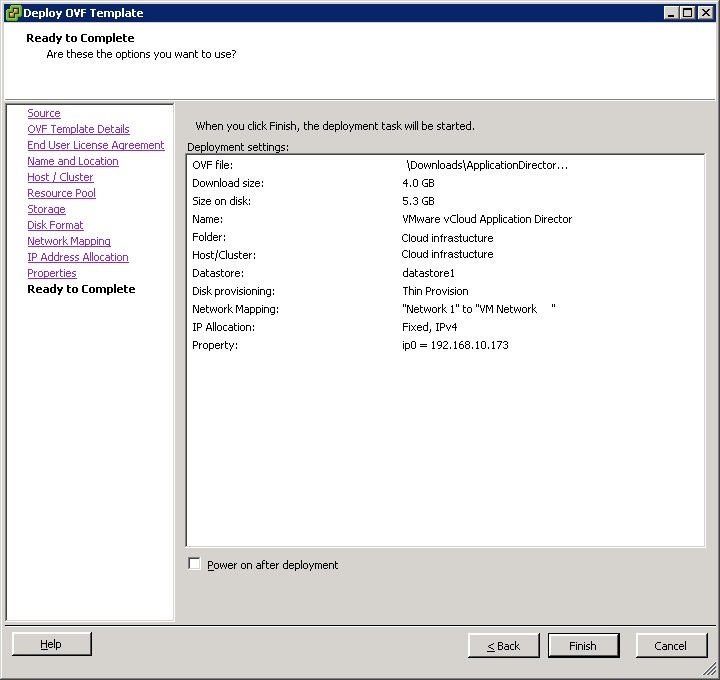
Click Next. If the Power on after deployment option is selected, Uncheck it. Get back to the IP pool we created in our previous post and enable it before powering the Appliance ON.
Once the Appliance is deployed we will power it on and configure it. We’ll see the steps involved in configuration of the appliance in our next blog post. PaaS with vCloud – Part 4 : Install and Configure vCloud Application Director 6.0